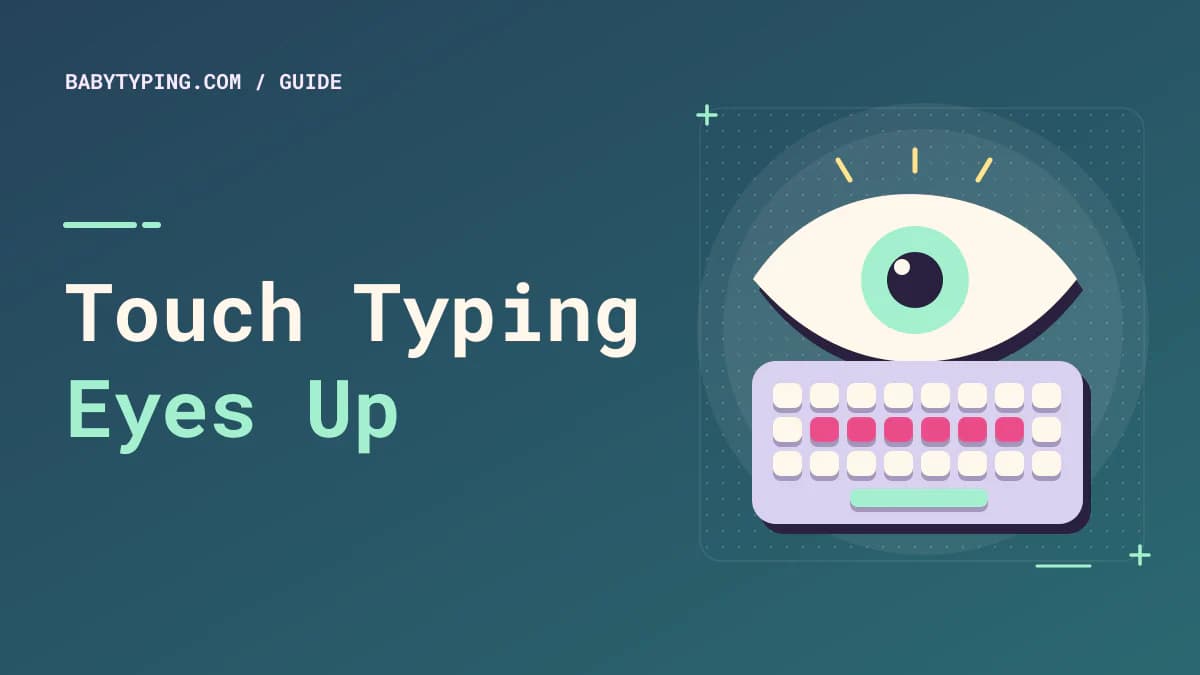
Typing without looking at the keyboard may seem impossible if you have spent years searching for each letter. Yet it is a learnable coordination skill, not a trick reserved for professional typists. Your fingers gradually remember where commonly used keys are, allowing your eyes to stay on the words you are reading or creating.
The approach is called touch typing. You do not need to start with a high WPM score. You need a reliable starting position, a sensible way to introduce new keys, and short exercises that reward accuracy. This guide explains how to make the transition without turning practice into a frustrating guessing game.
What Does Typing Without Looking Actually Mean?
Touch typing means finding keys primarily through learned finger movements rather than visually checking the key labels. It does not require complete perfection. Experienced typists sometimes glance down for unfamiliar symbols, a different keyboard, or unusual shortcuts. The practical goal is to avoid looking down for routine letters and spaces.
This frees attention for the text itself. Students can follow notes more easily; office workers can keep their eyes on documents; and anyone transcribing material can reduce the constant switch between page, keyboard, and screen. Importantly, touch typing does not automatically make you fast. Early progress is usually about confidence and consistency, with speed following later.
Find the Home Row on a QWERTY Keyboard
Place your left index finger on F and right index finger on J. Standard keyboards often mark these keys with raised bumps you can feel without seeing. Rest the other left-hand fingers over A, S, and D and the right-hand fingers over K, L, and the semicolon. Position your thumbs near the spacebar.
The home row serves as a mental anchor. You reach other letters from this familiar starting area, then return when convenient. Keep your shoulders relaxed and wrists roughly straight rather than forcing your hands into a rigid pose.
| Finger | Common home-row reference |
|---|---|
| Left little finger | A |
| Left ring finger | S |
| Left middle finger | D |
| Left index finger | F |
| Right index finger | J |
| Right middle finger | K |
| Right ring finger | L |
| Right little finger | ; |
Standard finger charts show recommended reaches, but hands vary. Learn a repeatable approach that remains comfortable; do not continue exercises that create pain.
The first five-minute drill
Type asdf jkl; slowly while looking at the screen. Pause whenever you lose your place and locate F or J by touch. Then try sad, lad, fall, ask, and flask. Your task is not to finish quickly. It is to make the next correct movement without checking the keyboard.
When errors occur, reset your fingers and try again. Avoid repeatedly hammering the incorrect key in the hope that the next attempt will work. The objective is to reinforce the correct route between known positions.
Add the Upper and Lower Letter Rows Gradually
Once the home row feels familiar, introduce the top row: Q, W, E, R, T, Y, U, I, O, and P. Learn a few letters at a time and combine them with home-row letters. The index fingers handle multiple nearby keys, so practice movements deliberately rather than stretching excessively.
Next introduce the lower row: Z, X, C, V, B, N, and M. A common difficulty is reaching for B or Y with the wrong hand. There is some variation in teaching charts, but consistent assignments are more useful than a random finger choice every time.
A simple progression is: first practice red, tree, type, and quiet; then practice can, mix, move, and banana; finally type full sentences, such as “The quiet cat can move across the room.” Use familiar material before adding dense or technical vocabulary.
What to do when you keep glancing down
Most beginners look down when they become uncertain. Treat that moment as useful feedback rather than failure. Stop, feel the F and J markers, and make the next movement slowly. If a key repeatedly defeats you, practice ten accurate repetitions embedded in several different words. Do not hide the keyboard under a towel if that forces awkward posture or makes practice unpleasant; visual reminders can be phased out gradually.
Try placing a short note near the monitor: “Find F and J by touch.” After a few sessions, check whether you are glancing down less often. This is a more meaningful early success metric than trying to reach 80 WPM on your first day.
Learn Space, Shift, Backspace, and Punctuation
Being able to type letters without looking is only part of normal writing. Spaces, capitals, commas, and periods frequently interrupt beginners. Assign a thumb to the spacebar, then practice full phrases with ordinary punctuation. For capital letters, a common technique is to use the Shift key on the opposite side from the letter being capitalized.
Practice “My name is Alex.” and “Today, I will type carefully.” Notice whether your hands return to a comfortable base position after capitals. You can learn apostrophes, quotation marks, numbers, and brackets later. There is no need to master every symbol simultaneously.
Backspace is useful but should not become the center of your exercise. When practicing touch typing, correct mistakes calmly, then resume the phrase. If every sentence contains five corrections, reduce the difficulty. Accuracy-first practice builds better movement patterns than frantic recovery.
A Seven-Day Beginner Touch-Typing Plan
Use this plan as a sequence of lessons, not a promise that every person will master touch typing in seven days. Repeat any day until its exercise feels manageable.
Day 1 – Home-row positions: Spend ten minutes identifying F and J by touch, followed by short home-row words. Finish with one minute of relaxed typing without looking down.
Day 2 – Top-row letters: Add a few upper-row keys, then create simple words and short sentences. Keep speed low enough to choose the correct finger.
Day 3 – Bottom-row letters: Introduce lower-row keys and practice problem combinations like V/B or N/M. End with a mixed-letter drill.
Day 4 – Whole words: Type common short words, then common endings such as -ing and -tion. Try to read the next word while finishing the current one.
Day 5 – Capitals and punctuation: Practice sentences that use Shift, commas, periods, and apostrophes. Notice when punctuation causes you to lose finger position.
Day 6 – Unfamiliar paragraphs: Select a short passage you have not seen before. Type slowly, keep your eyes on the screen, and record the keys that cause hesitation.
Day 7 – Evaluate and adjust: Take a free typing test and record WPM and accuracy. Compare the number of times you looked down with Day 1, not just the speed score.
Practice in a Way That Transfers to Real Work
A common learning trap is to practice only predictable sequences like aaaa ssss dddd. Such drills teach the location of a key, but real typing requires transitions among letters, whole words, and sentence punctuation. Use repetitive exercises for a few minutes, then immediately type meaningful text. A paragraph about your day or a short recipe provides natural letter combinations.
For copying exercises, distinguish between reading and typing. Keep your eyes one word ahead when possible. For original writing, do not assume your WPM will match a copying test: generating ideas takes thinking time, so the two activities measure different things.
If you work in a language other than English, add that language's common words and symbols to your practice. A layout change or language-specific keyboard may require separate adaptation. Switching frequently among layouts while learning can slow the development of automatic movements.
Set Up Your Workspace for Comfortable Practice
Place the keyboard in front of you, keep your shoulders relaxed, and try to maintain wrists in line with your forearms. The Occupational Safety and Health Administration recommends a neutral working position and regular posture changes during computer use. Rest briefly between sessions rather than gripping the keyboard more tightly as you become tired.
Your keyboard does not have to be expensive. A stable, familiar layout is more important while learning. Some people prefer a laptop keyboard; others find a separate keyboard more comfortable. Use the setup that supports a neutral posture and consistent finger placement.
How to Measure Progress Beyond WPM
Track three beginner indicators: glances at the keys, accuracy, and comfort. For instance, you may move from twenty keyboard glances to five during a practice paragraph while WPM remains around 25. That still represents meaningful touch-typing progress. Once you can complete ordinary sentences without looking down, focus more directly on speed.
For a structured speed-building approach after touch typing becomes familiar, read how to increase typing speed from 30 to 60 WPM. Small improvements in key recognition often make later training much easier.
Frequently Asked Questions
How long does it take to learn typing without looking?
It depends on your previous typing habits and practice consistency. Some letter groups become familiar quickly; fully automatic typing usually requires repeated use. Avoid deadlines and track how often you need visual help.
Should I cover my keyboard when learning touch typing?
You can try a light visual reminder if it is comfortable, but it is not mandatory. Gradually reducing glances while accurately reaching known keys often works better than making every error stressful.
Is touch typing faster than two-finger typing?
Touch typing can support efficient, consistent typing as you gain skill, but individuals differ. A skilled person using an unconventional technique may initially be faster than a beginner learning standard finger positions.
Can I learn touch typing on a laptop?
Yes. Many laptop keyboards have the same basic QWERTY letter arrangement. Key spacing, travel, and comfort vary, so choose a device that lets you sit comfortably and practice consistently.
What if my WPM decreases when I stop looking down?
That is common during the transition. You are learning a different method of locating keys. Keep accuracy high and gradually build speed. Use BabyTyping's WPM test to check progress under consistent conditions.
Keep Your Eyes on the Words, Not the Keys
Typing without looking develops through hundreds of small, accurate movements. Start from the home row, introduce new letters at a manageable pace, practice real sentences, and measure progress without demanding immediate speed. Eventually, the keyboard becomes less of a puzzle and more of an ordinary writing tool.